Positive Input Ventilation (PIV) units are an effective way to improve air quality and reduce humidity levels in your home. This article will guide you through the installation process, detailing the key considerations and steps to ensure a successful setup. Whether you’re installing a PIV unit with or without a heater, in a loft, or in a flat, we’ve got you covered.
Choosing the Right PIV Unit
Before you start, you need to decide on the type of PIV unit that best suits your needs:
- With Heater vs. Without Heater: PIV units can come with a heating element to slightly warm the incoming air.
- Loft Installation vs. Flat Installation: The type of unit you need depends on whether you have a loft.
Loft Installation
If you’re installing the unit in a loft, here are the main steps and considerations:
- Spacing and Energy Source: Ensure there is enough space between the joists and decide whether to power the unit from the lighting circuit or the ring mains. Use a 1A fuse for an unheated unit and a 3A fuse for a heated unit.
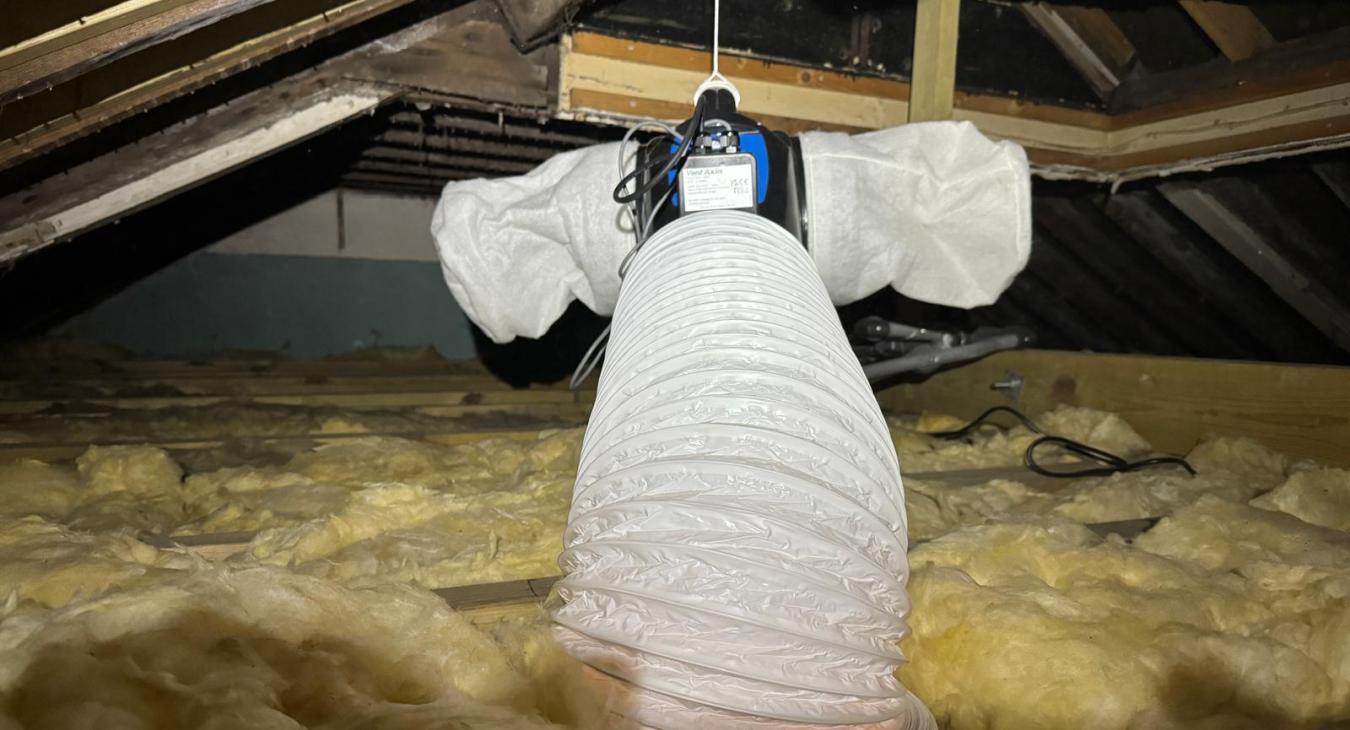
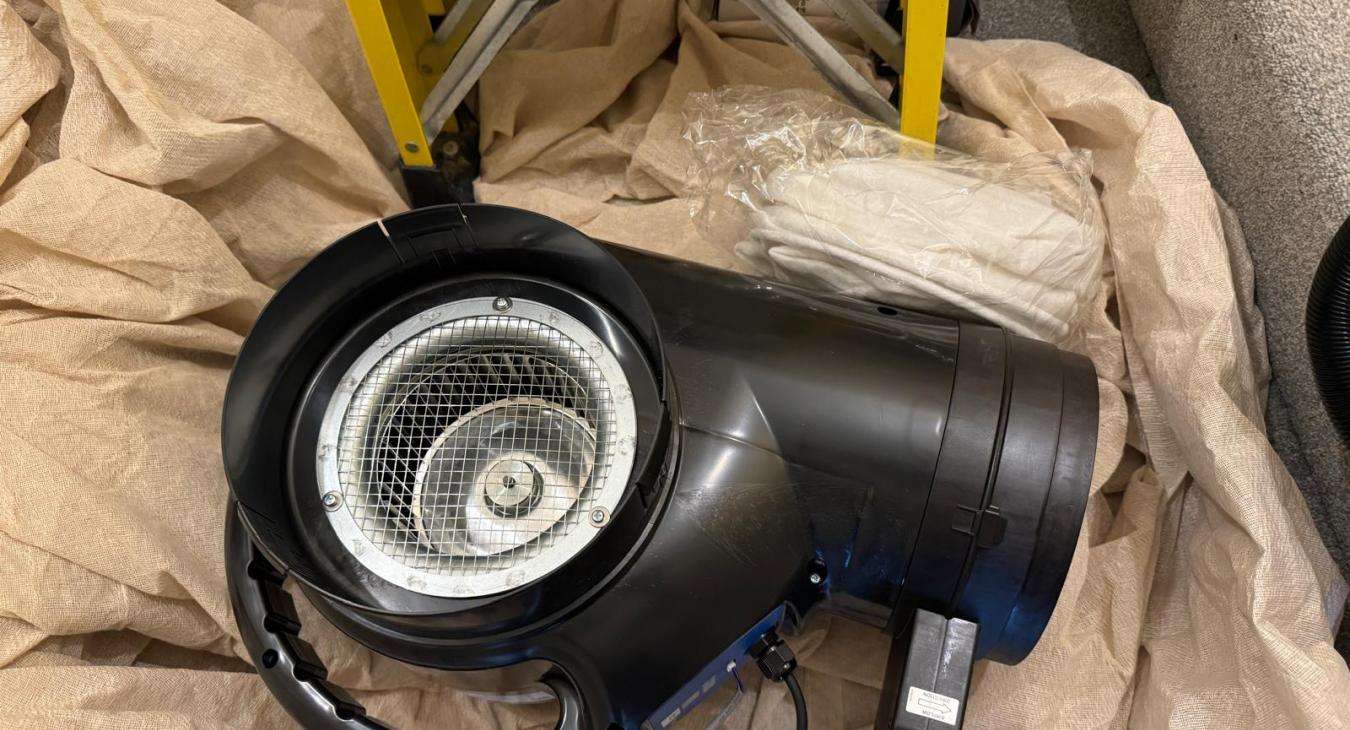
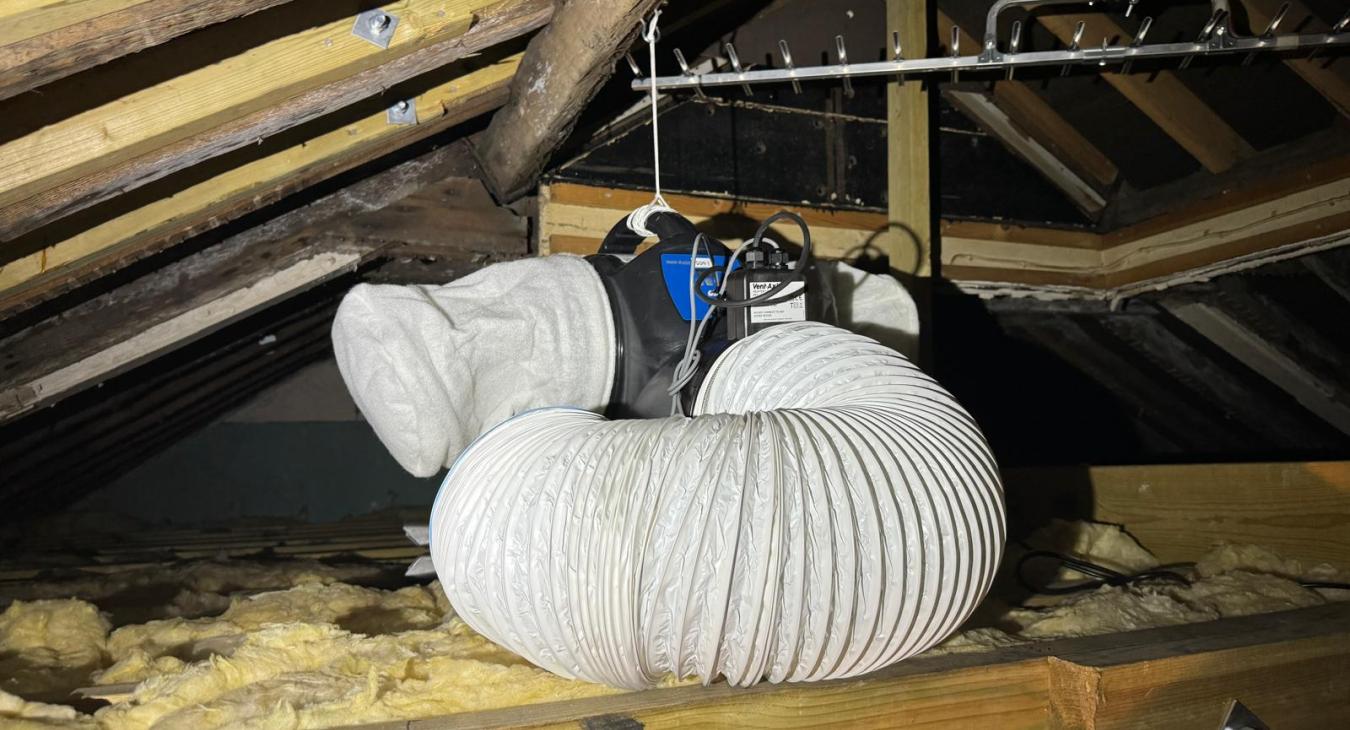
- Vibration Minimization: To minimize vibration, install the unit on a string or use the supplied legs to fix it to the structure.
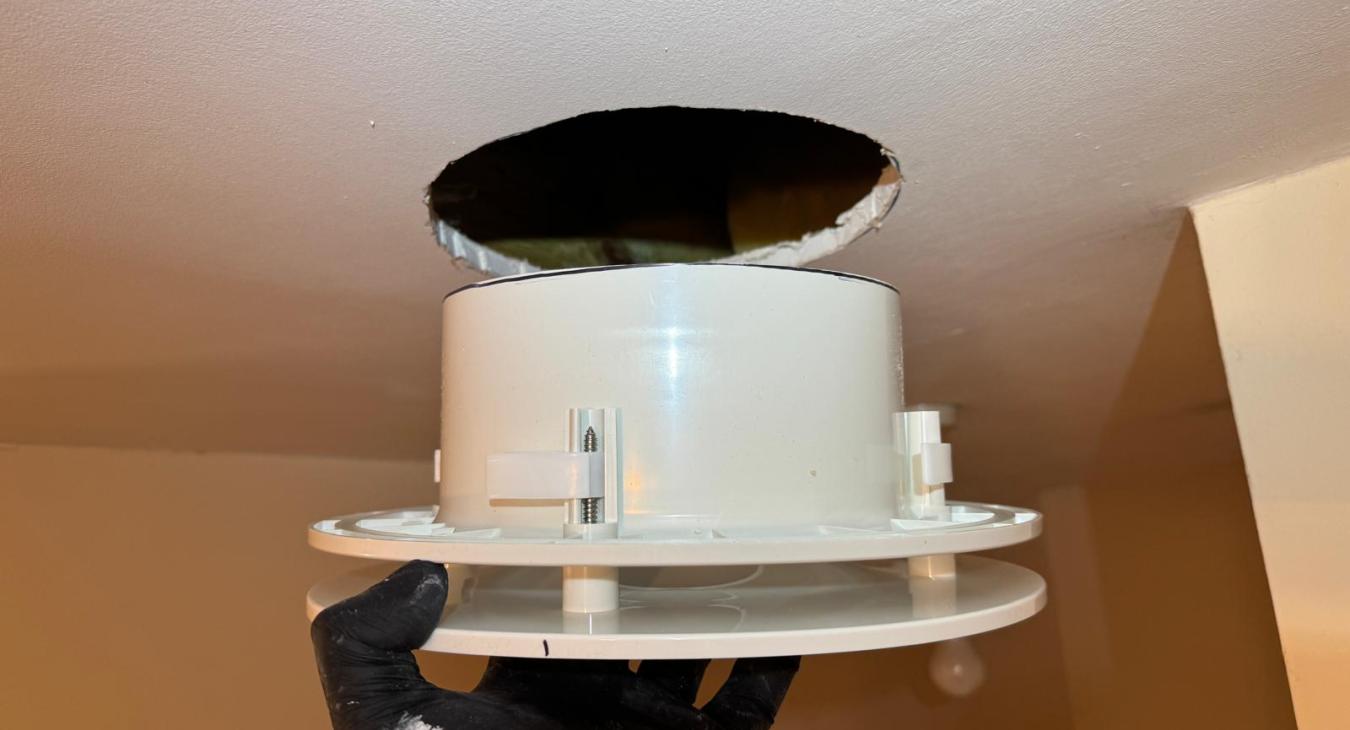
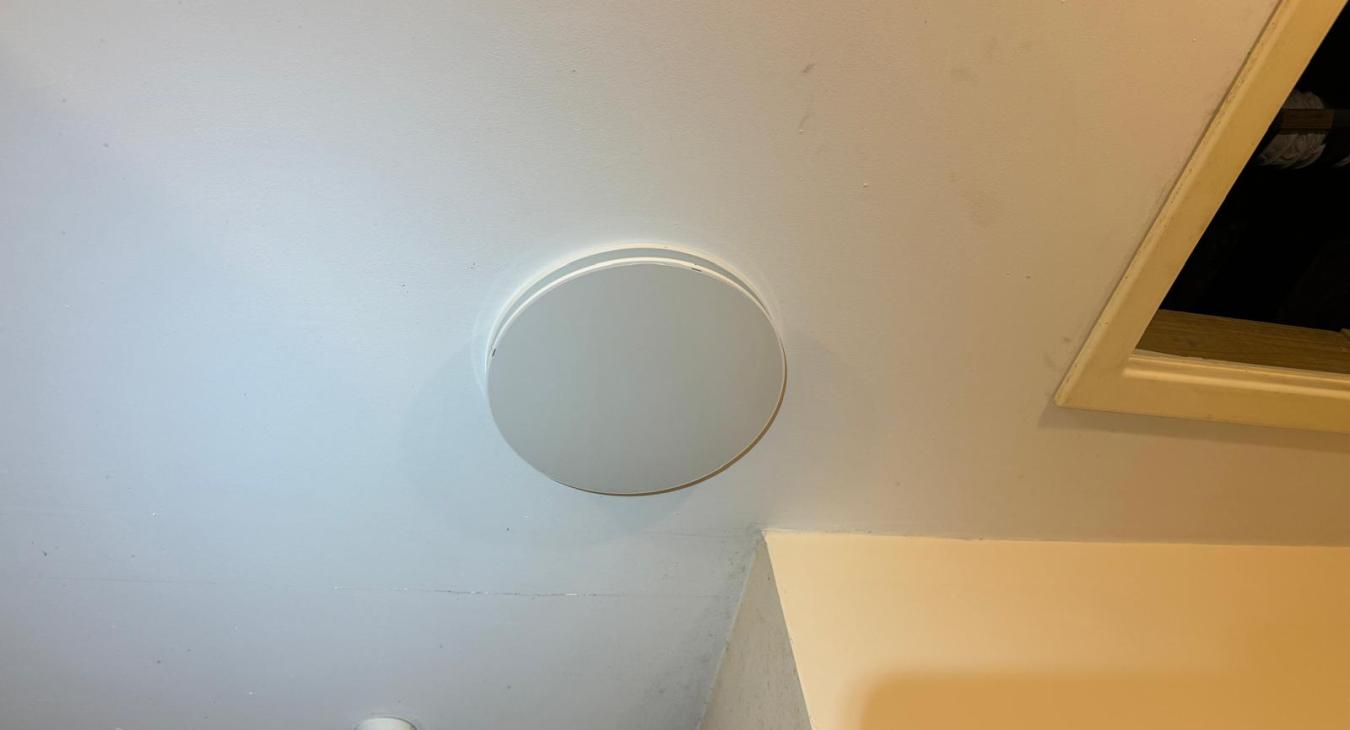
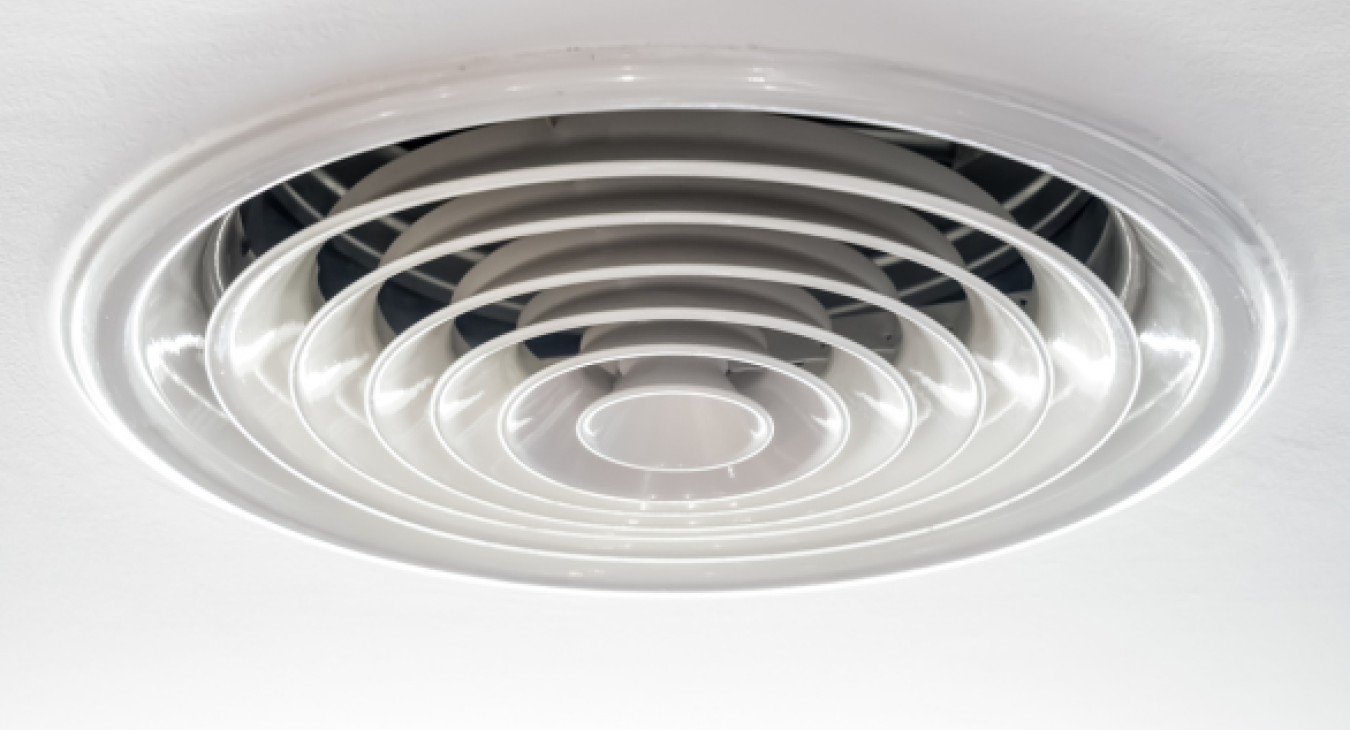
- Cutting the Ceiling Hole: Measure and cut a hole between the joists, approximately 225-230mm in diameter.
- Installing the Ducting: Fit the round plate for the ducting, insert the ducting, and clamp it to both the vent and the unit.
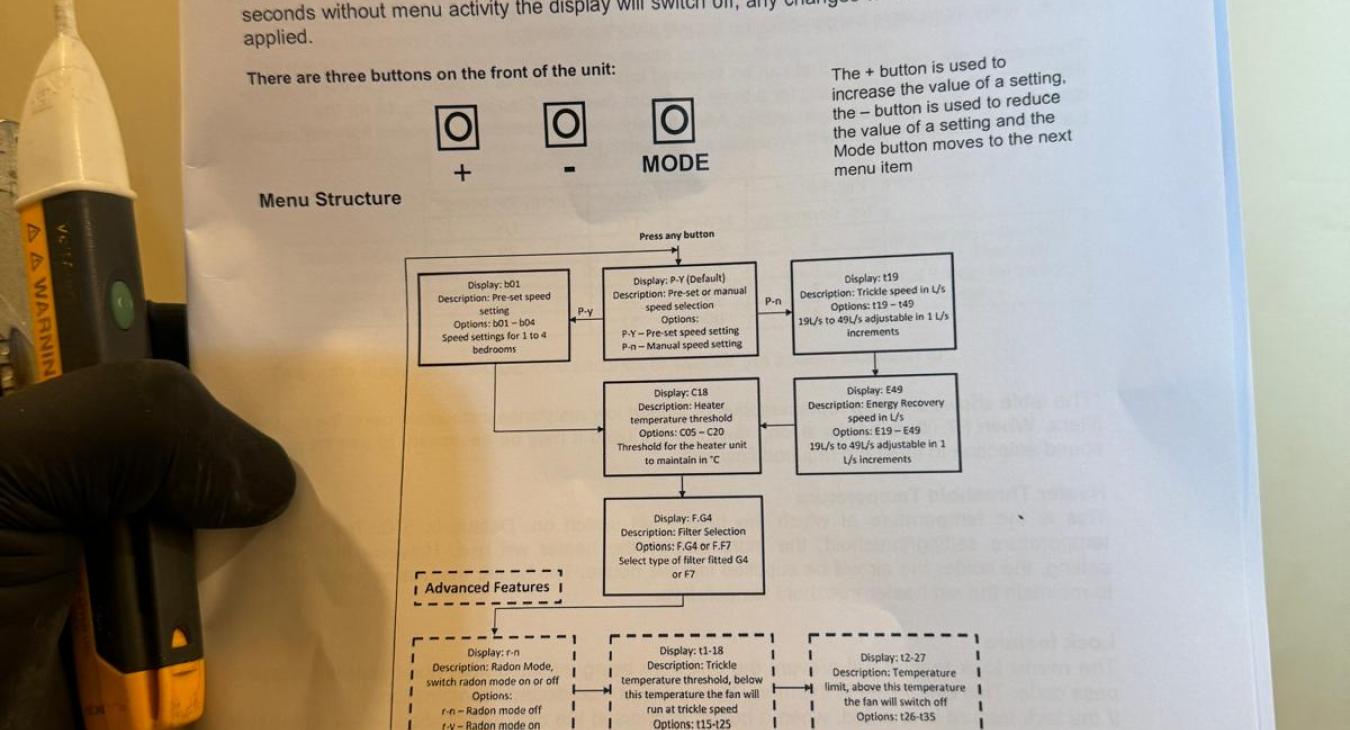
- Bringing Power to the Unit: Connect the power supply. Unheated units typically only require basic on/off functionality, while heated units may include a control panel or remote options.
Flat or House Installation
For installations where there is no loft or insufficient loft space:
- Power Supply: Power can be sourced from the nearest socket or lighting circuit. This may involve drilling through walls.
- Drilling Considerations: Drilling is relatively straightforward for brick walls. Reinforced concrete in older buildings can be more challenging but still feasible.
- Control Access: Unheated units usually have simple access for control, whereas heated units may come with controls on the unit or via a remote.
Commissioning the Unit
After installation, follow the manufacturer’s instructions to commission the unit:
- Boost Time: Set the boost time and duration as specified.
- Heating Settings: Adjust the temperature settings according to your needs.
- Hand Over: Demonstrate the basic functions to the customer and ensure they understand how to adjust settings.
Summary
Installing a PIV unit can significantly improve the air quality in your home, reducing humidity and the risk of mould.
Whether you’re tackling this project yourself or hiring a professional, understanding the key steps and considerations is crucial for a successful installation.
For further assistance or to schedule an installation, contact Solid Electrics at 023-8181-0636 or visit our website.
This guide will ensure a proper installation that enhances your home’s comfort and air quality.
Solid Electrics is here to assist you if you have any questions or need professional help!
